Giới thiệu
Có rất nhiều framework để xây dựng AI chatbot. Và Api.ai (bây giờ là DialogFlow) là một trong những chatbot framework nổi tiếng.Api.ai là một startup về natural language conversations, đã được Google mua lại và đổi tên thành DialogFlow.
Bài viết này sẽ huớng dẫn cách tạo một chatbot kiểm tra thời tiết đơn giản sử dụng Facebook Messenger để giao tiếp với người dùng, DialogFlow để nhận dạng các đặc trưng của ngôn ngữ trong tin nhắn của nguời dùng , Google Cloud Function API để xây dựng webhook, Weather API của worldweatheronline để lấy thông tin về thời tiết.

Yêu cầu
- tài khoản Google Cloud (bạn phải có thẻ mastercard hoặc visa thì mới tạo đuợc)
- tài khoản Facebook và Facebook Developer
DialogFlow
Tạo mới Agent
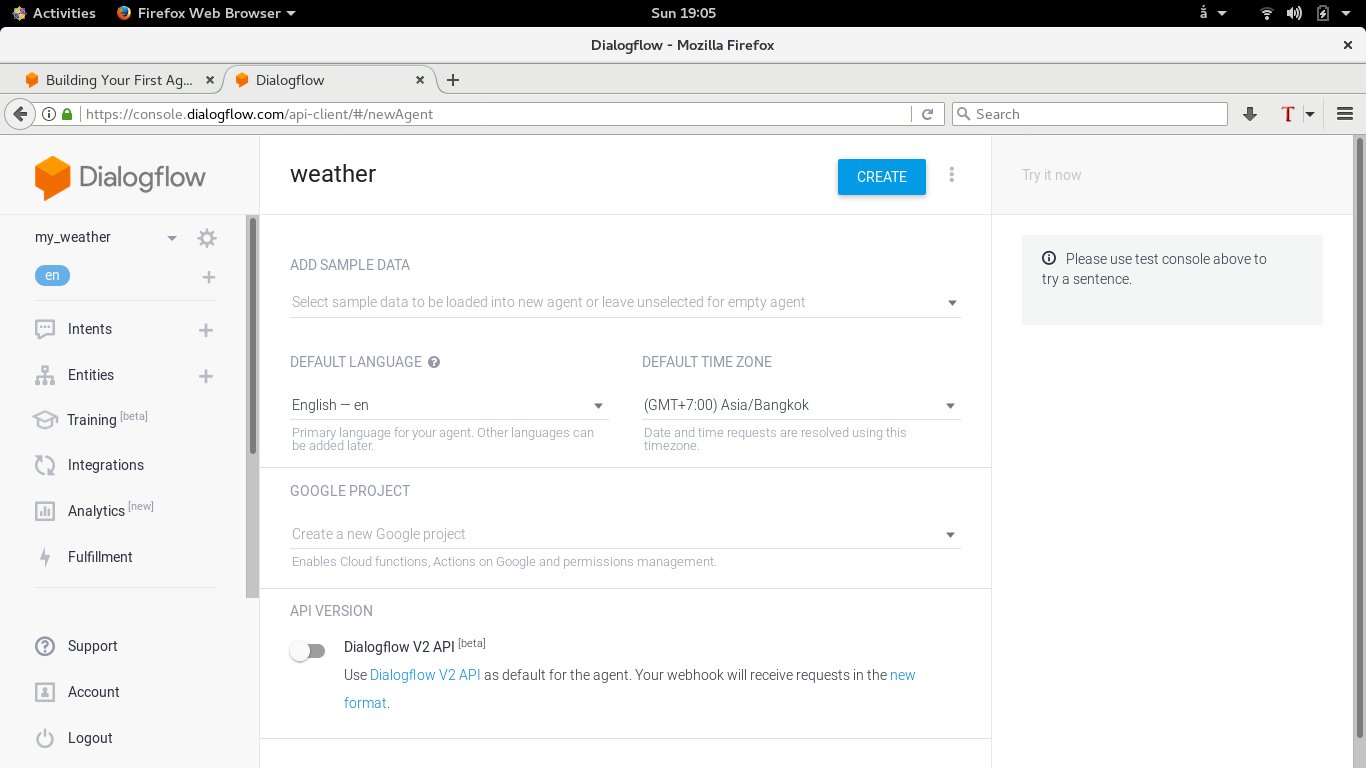
Trước hết bạn vào dialogflow.com sử dụng tài khoản Google Cloud để đăng ký, sau đó vào Create Agent để tạo 1 agent. Agent sẽ xử lý tin nhắn nguời dùng để trích xuất các đặc trưng.Các đặc trưng trong 1 tin nhắn nguời sử dụng bao gồm:
- Intent: là 'ý định' của nguời dùng khi nhắn tin đó. Dựa vào đó mà agent đưa ra các hành động tuơng ứng
- Entity: là các ‘thực thể’ trong tin nhắn
Bạn chọn ngôn ngữ là “english” sau đó ấn Create.
Tạo mới Intent
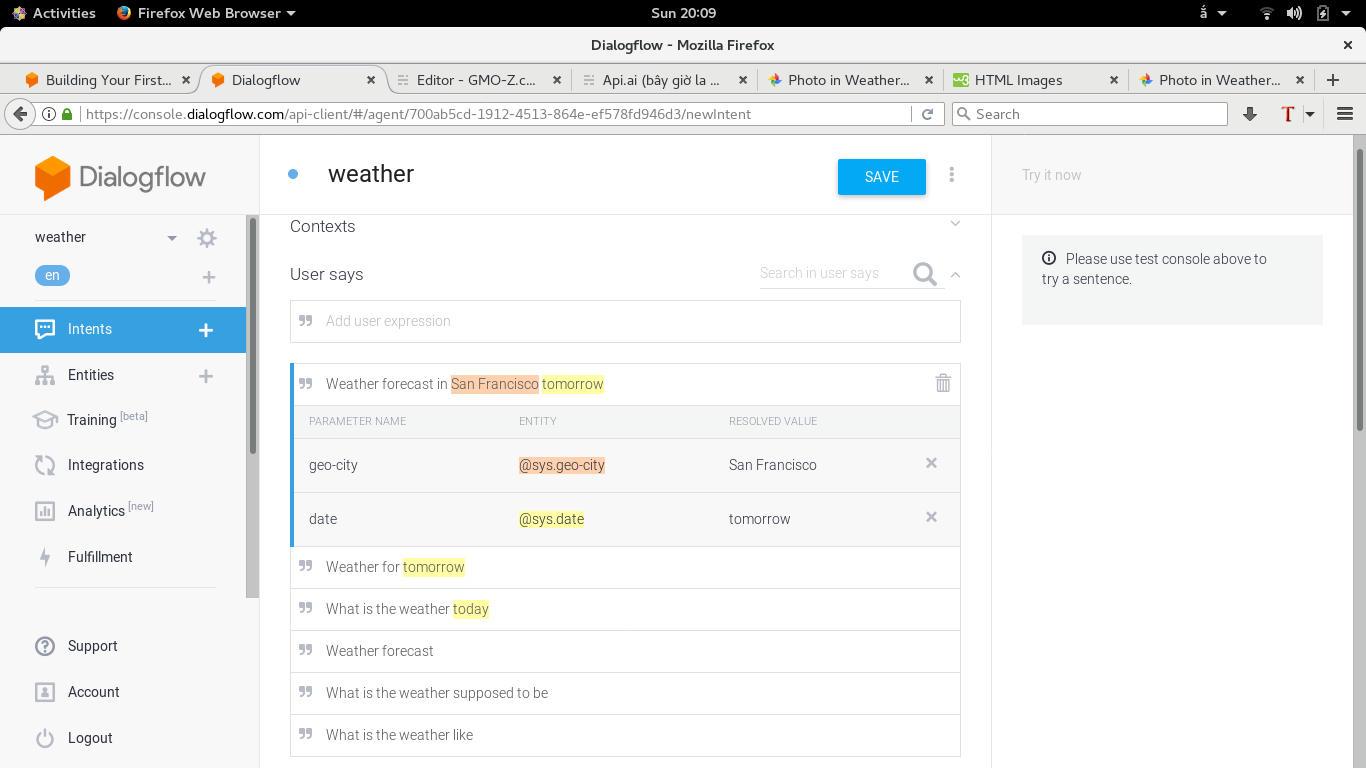
Bây giờ chúng ta tạo 1 intent mới. Bạn click vào mục Intent ở menu bên trái rồi chọn Create Intent. Bạn đặt tên cho intent mới là “weather” rồi ấn nút Save.
Phần “User says”
Bạn nhập vào những câu mà nguời dùng sẽ hỏi- What is the weather like
- What is the weather supposed to be
- Weather forecast
- What is the weather today
- Weather for tomorrow
- Weather forecast in San Francisco tomorrow
Sau khi nhập vào bạn sẽ thấy từ “today” và "tomorrow" được bôi màu vàng, còn từ “San Francisco” đuợc bôi màu đỏ. Đây là những system entity được định nghiã từ trước. Những entity này cho phép DialogFlow hiểu những thời gian và địa điểm khác mà nguời dùng nhập vào
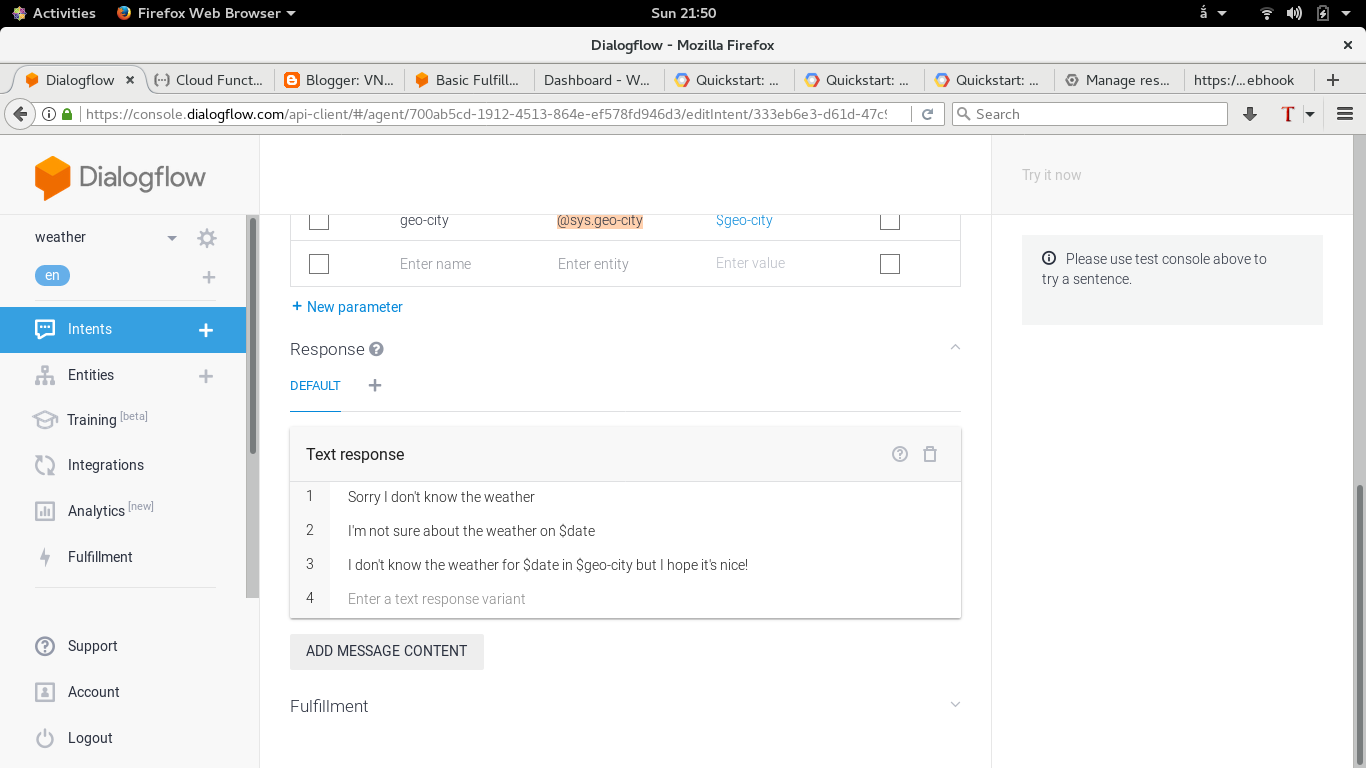
Phần “Add response”
Là những câu trả lời của hệ thống- Sorry I don't know the weather
- I'm not sure about the weather on $date
- I don't know the weather for $date in $geo-city but I hope it's nice!
$date và $geo-city sẽ tham chiếu đến thời gian và thành phố mà nguời dùng đã gửi.
Thay đổi các intent mặc định
Bạn click vào phần Intent ở menu bên trái sẽ thấy có 3 intent là welcome, Default Fallback Intent và Default Welcome IntentDefault Fallback Intent
Phần response kích vào biểu tuợng thùng rác để xóa hết các response mặc địnhsau đó thêm 2 response mới sau:
- I didn't understand. Can you try again?
- I don't understand what you're saying. You can say things like "What's the weather in Paris today?" to get the weather forecast.
Default Welcome Intent
Xóa hết các response mặc định và thay bằng:- Welcome to Weather Bot! You can say things like "What's the weather in Mountain View tomorrow?" to get the weather forecast.
Như vậy là phần agent xử lý tin nhắn để trích xuất đặc trưng đã tạm ổn. Bây giờ chúng ta sẽ nhảy qua phần webhook
Webhook
Webhook là gì? Nói cho đơn giản thì nó là một HTTP Callback lắng nghe trên một URL, chờ khi có 1 HTTP Post gọi đến thì nó sẽ đuợc kích hoạt.Khi agent gửi request là tin nhắn nguời dùng cùng những đặc trưng thì webhook sẽ xử lý để trả về response. Ở đây chúng ta đang dùng DialogFlow của Google, nên cũng tận dụng xài luôn Google Cloud Functions để làm webhook.
Google Project
Khi bạn tạo mới 1 agent thì DialogFlow mặc định sẽ tạo 1 Google Project cho bạn. Bạn vào setting sẽ thấy nó ở trong Project ID
Click vào sẽ nhảy đến giao diện Console của Google Project.
Billing
Click vào menu bên trái chọn mục Billing. Ở đây bạn sẽ chọn tài khoản billing để Google trừ tiền :)) (đùa thôi chứ khi mới tạo tài khoản Google Cloud thì sẽ đuợc 300$ và 1 năm sử dụng miễn phí)Cloud Functions
Bạn vào Cloud Functions ở menu bên trái để enable.
Cấu hình Cloud Function
Name: weatherWebhookTrigger: chọn HTTP trigger
Stage bucket: click vào browse để chọn bucket
Function to execute: weatherWebhook
Index.js: bạn paste phần sau vào
``` 'use strict'; const http = require('http'); const host = 'api.worldweatheronline.com'; const wwoApiKey = '[YOUR_API_KEY]'; exports.weatherWebhook = (req, res) => { // Get the city and date from the request let city = req.body.result.parameters['geo-city']; // city is a required param // Get the date for the weather forecast (if present) let date = ''; if (req.body.result.parameters['date']) { date = req.body.result.parameters['date']; console.log('Date: ' + date); } // Call the weather API callWeatherApi(city, date).then((output) => { // Return the results of the weather API to Dialogflow res.setHeader('Content-Type', 'application/json'); res.send(JSON.stringify({ 'speech': output, 'displayText': output })); }).catch((error) => { // If there is an error let the user know res.setHeader('Content-Type', 'application/json'); res.send(JSON.stringify({ 'speech': error, 'displayText': error })); }); }; function callWeatherApi (city, date) { return new Promise((resolve, reject) => { // Create the path for the HTTP request to get the weather let path = '/premium/v1/weather.ashx?format=json&num_of_days=1' + '&q=' + encodeURIComponent(city) + '&key=' + wwoApiKey + '&date=' + date; console.log('API Request: ' + host + path); // Make the HTTP request to get the weather http.get({host: host, path: path}, (res) => { let body = ''; // var to store the response chunks res.on('data', (d) => { body += d; }); // store each response chunk res.on('end', () => { // After all the data has been received parse the JSON for desired data let response = JSON.parse(body); let forecast = response['data']['weather'][0]; let location = response['data']['request'][0]; let conditions = response['data']['current_condition'][0]; let currentConditions = conditions['weatherDesc'][0]['value']; // Create response let output ='Current conditions in the ${location['type']} ${location['query']} are ${currentConditions} with a projected high of ${forecast['maxtempC']}°C or ${forecast['maxtempF']}°F and a low of ${forecast['mintempC']}°C or ${forecast['mintempF']}°F on ${forecast['date']}.'; // Resolve the promise with the output text console.log(output); resolve(output); }); res.on('error', (error) => { reject(error); }); }); }); } ```


Weather API
Vào https://developer.worldweatheronline.com/api/ để đăng ký tài khoản mới rồi lấy API key
Kết nối DialogFlow và Cloud Function API
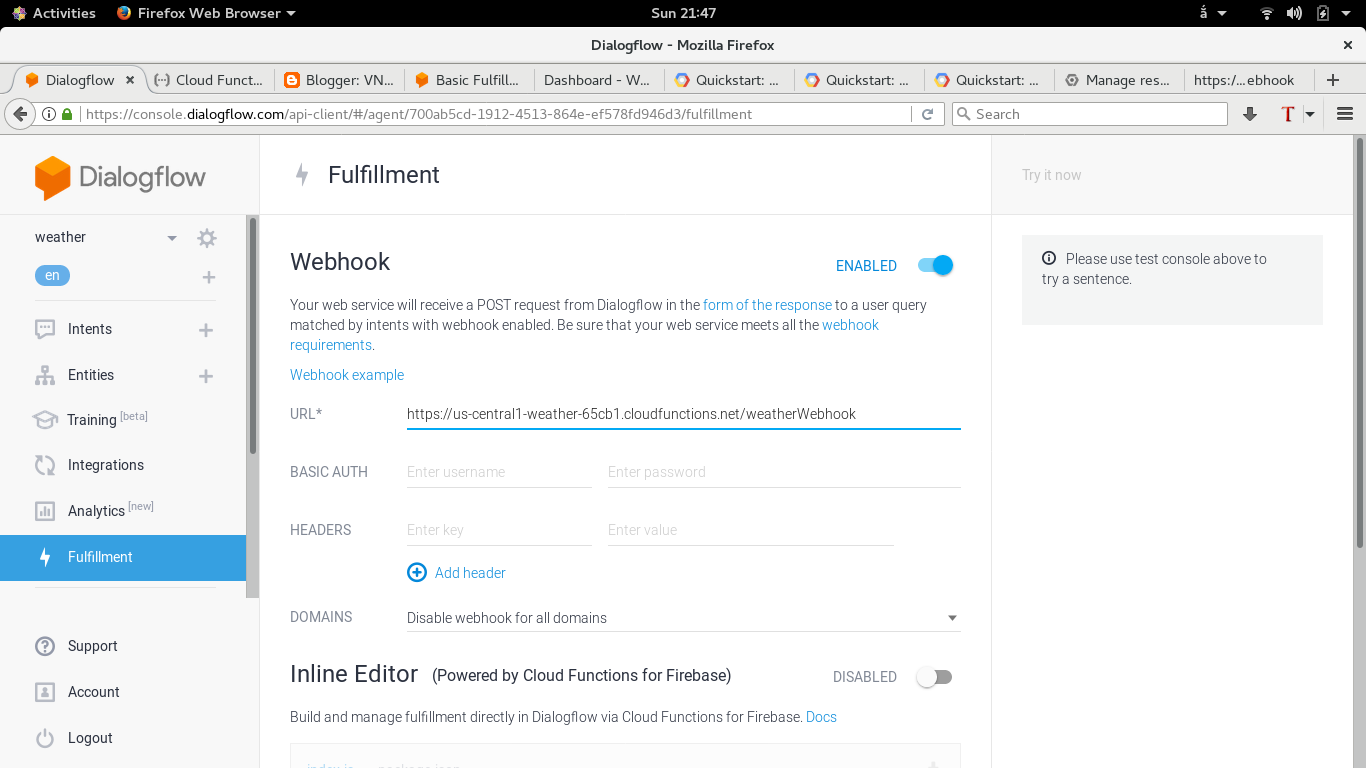
Cập nhật Fullfilment trong DialogFlow
Quay trở lại console của DialogFlow và chọn Fulfillment ở menu bên tráiClick chọn enable rồi chèn callback url của Google Cloud Function vào rồi lưu lại
Quay trở lại mục Intents chọn weather intent
Kéo xuống dưới cùng kích vào Fulfillment
check vào use webhook rồi lưu lại
Chạy thử
Cột bên phải trong console của DialogFlow là mục “try it now”bạn thử nhập câu hỏi như “Weather forecast in hanoi tomorrow” thì sẽ nhận đuợc câu trả lời lấy từ weather API thông qua webhook

Đưa lên Facebook Messenger
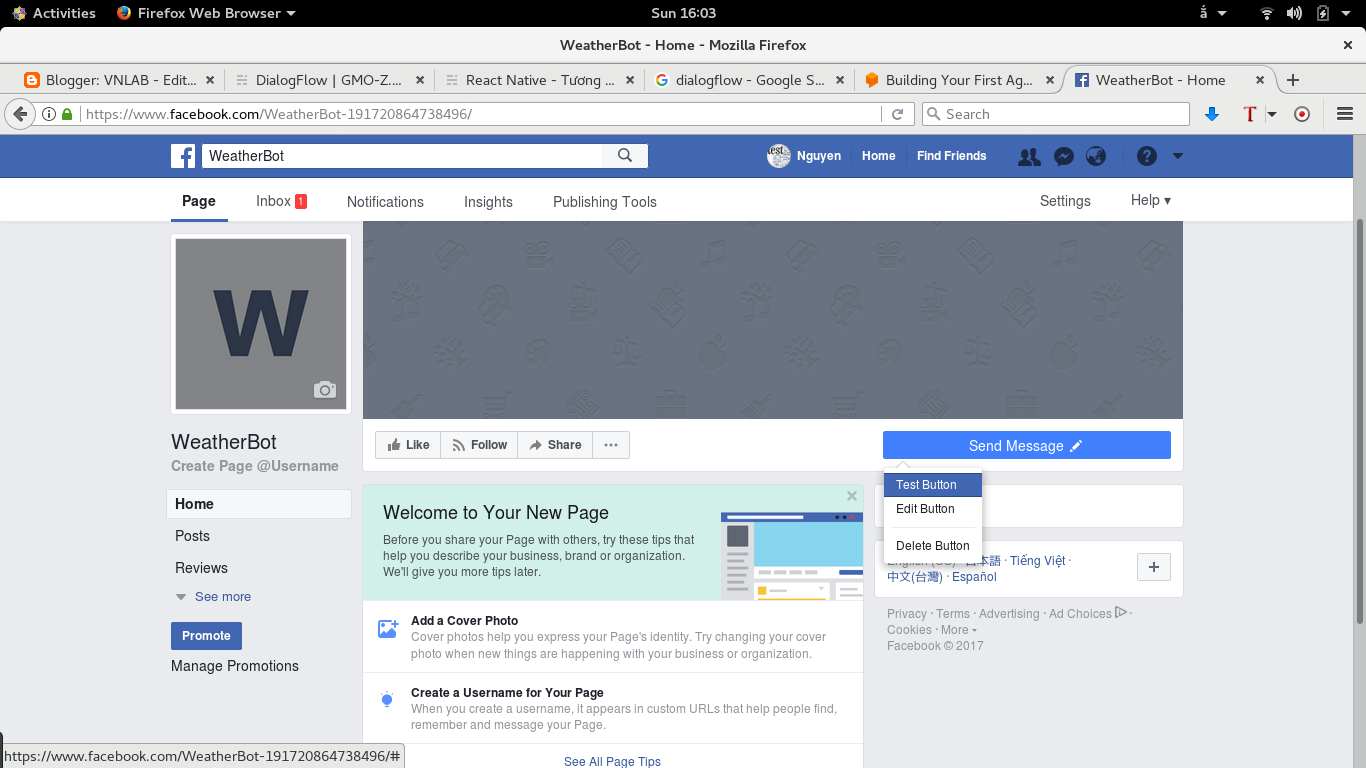
Tạo Facebook Fanpage
Bạn tạo 1 fanpage có tên là “Weatherbot”
Tạo Facebook App
Bạn tạo 1 App có tên là "Weatherbot"


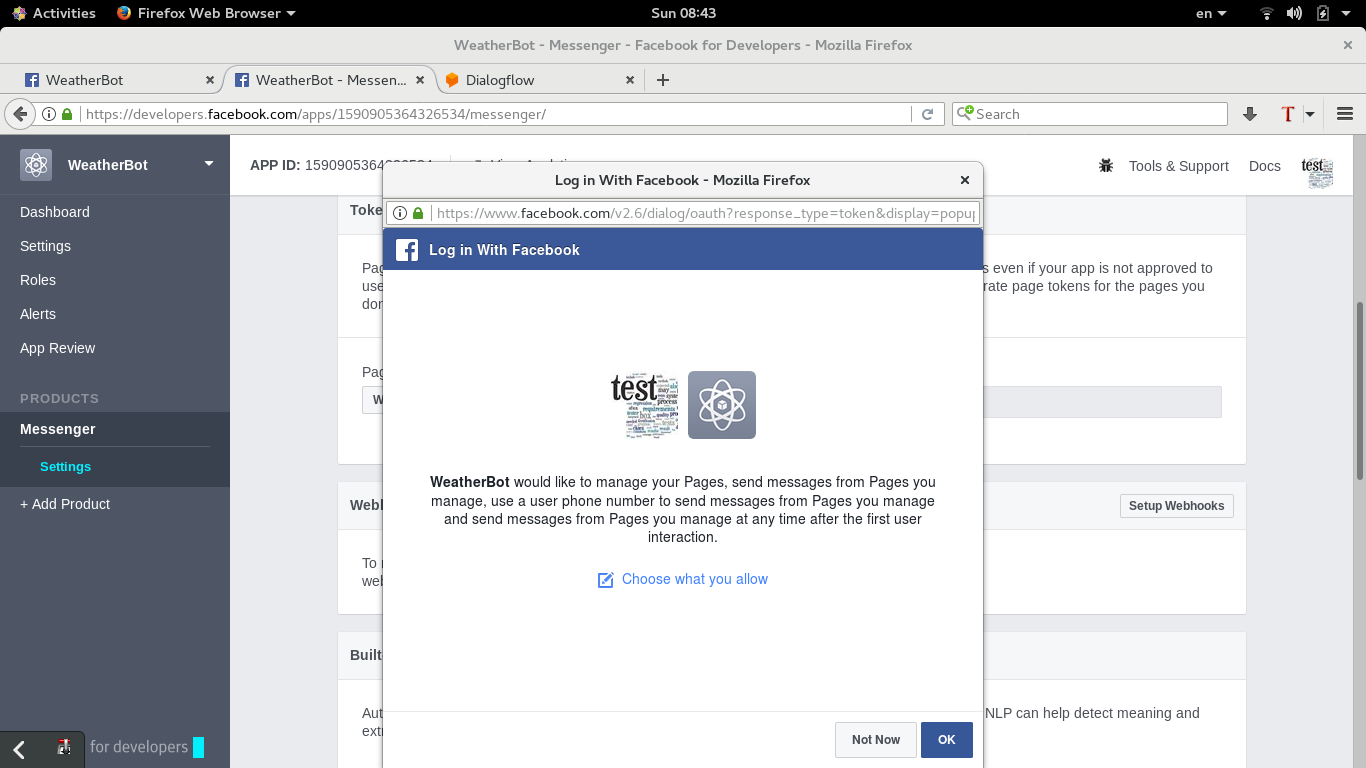
Sau khi add product xông thì bạn vào product “messenger” , phần token generation chọn fanpage “Weatherbot”
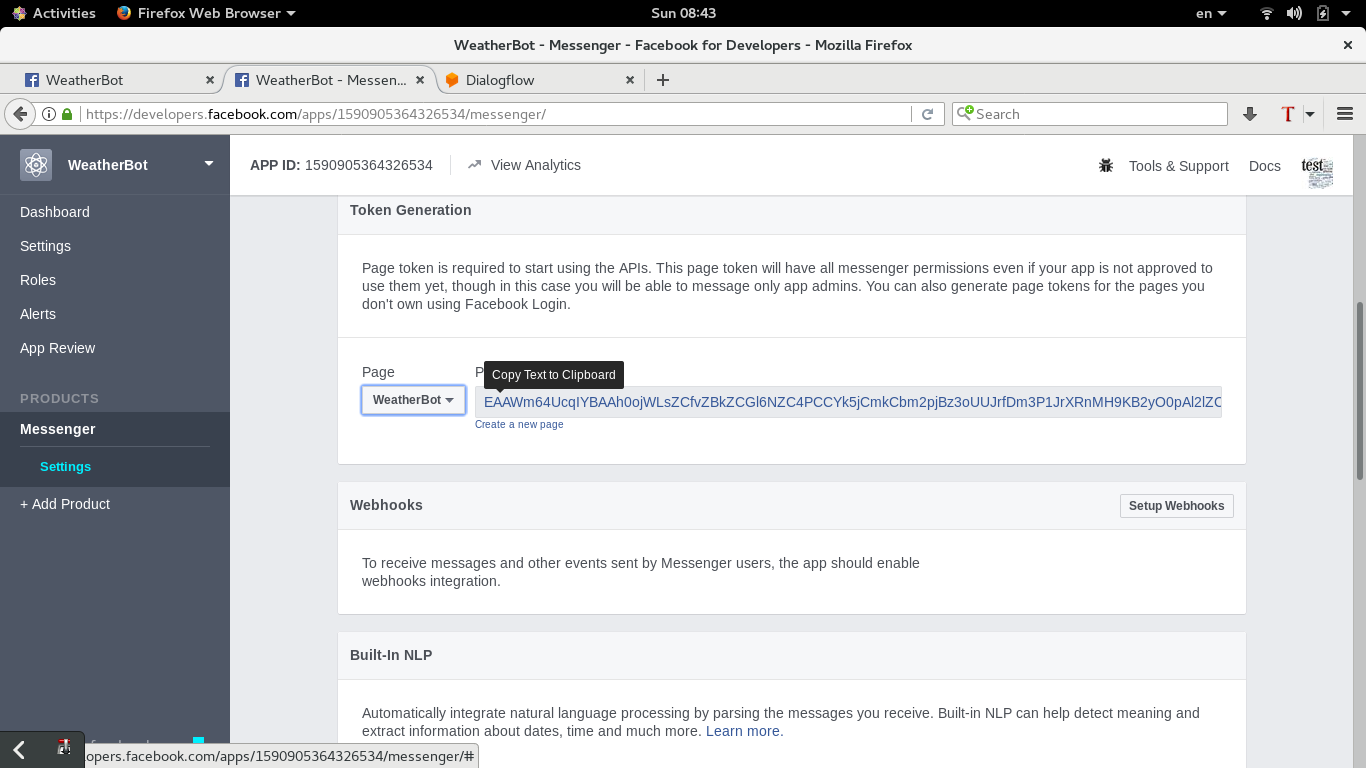
Cấu hình webhook ở DialogFlow
- Verify Token: bất cứ cái gì cũng đuợc, chỉ cần đảm bảo là Messenger biết đuợc token này
- Page Access Token: là token vừa tạo ra ở messenger

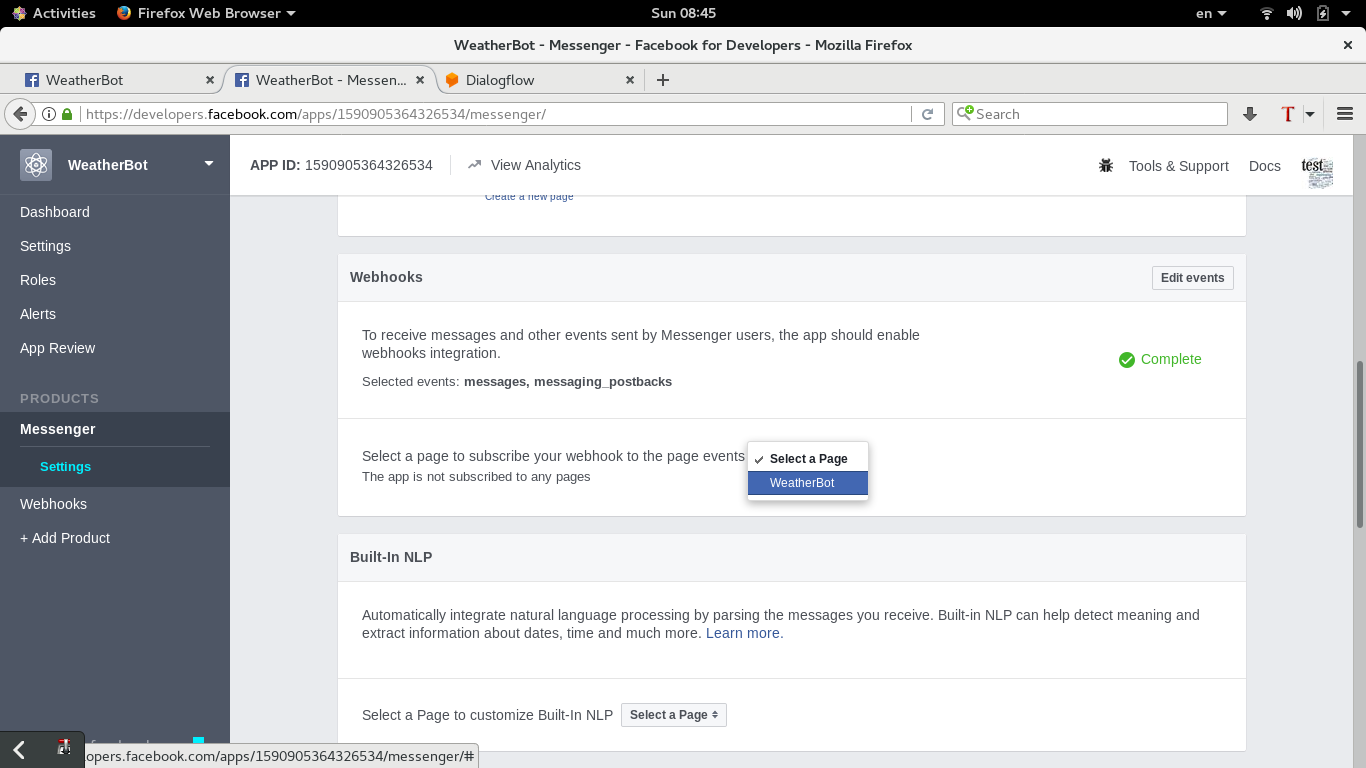
Cấu hình Callback URL ở Messenger
- Callback URL: là địa chỉ của webhook vừa đuợc tạo ra ở phía trên
- Verify Token: phía trên
- Check vào messages và messaging_postbacks

Đăng ký App này cho Fanpage
Thành quả

Kết luận
Qua bài viết này mình đã giới thiệu qua về DialogFlow và cách sử dụng nó với Facebook Messenger.Để làm cho con chatbot này thông minh thì cần rất nhiều dữ liệu mẫu:chat của người dùng, các thông tin được extract từ đó như intent và entity, phản hồi mẫu của chatbot. Ngoài ra DialogFlow vẫn chưa hỗ trợ tiếng Việt nên việc phát triển những chatbot tiếng Việt gặp khá nhiều khó khăn